Follow My Step-by-Step Guide to Wrapping Chinese Buns: Beginner-Friendly with Video Tutorial Included!
You won’t believe how much I love making buns! Their diverse flavors and unique textures always leave me wanting more. Whether I’m starting my day with a delicious breakfast or enjoying a quick meal later on, buns are my top choice.
That’s why you’ll often find them stocked in my freezer.
Here are some of the bun recipes I’ve shared:
- Steamed Beef Buns
- Red Bean Paste Buns
- Mini Red Bean Buns
- Milk Mantou
- Chinese Sugar Buns
- Sweet Potato Mantou
- Spinach Buns
Feel free to refer to any of these recipes for a soft and fluffy dough, and choose your favorite fillings.
Beyond the traditional options, here are some other popular fillings you might enjoy:
You can use the same techniques I demonstrate for shaping buns with just about any filling.
It’s not easy to describe how to wrap a bun in words, so I recommend watching my video for a clearer demonstration.
Believe me, there’s no need to be afraid! If you’re a beginner, you might find it a little challenging at first. But by following these steps and the techniques demonstrated in the video, you’ll be able to create beautifully shaped and plump buns.
With practice, you’ll quickly master the art of bun-making!
1. Preparation
- Prepare the fermented dough and filling.
- Get some parchment paper
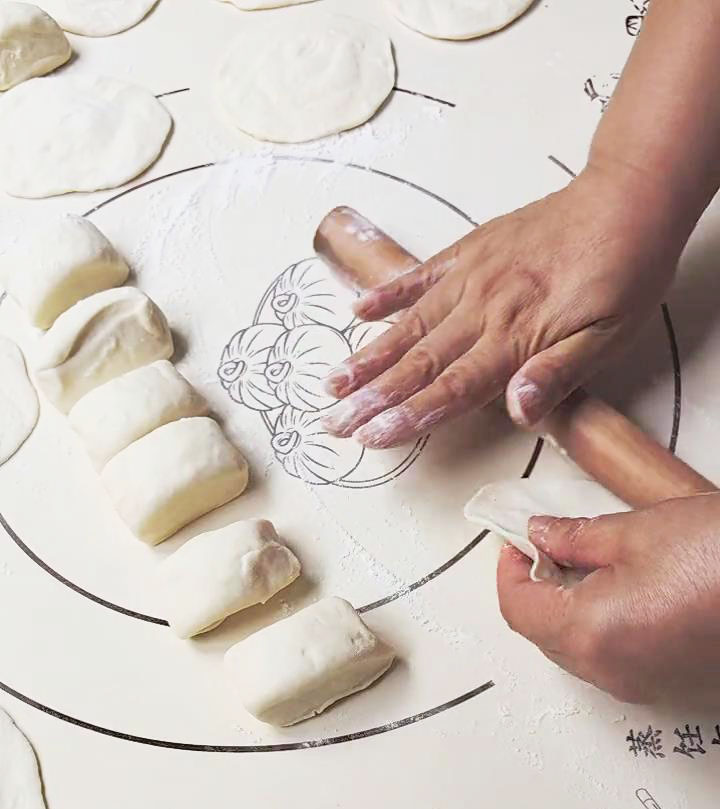
2. Rolling the Dough
- Roll the dough into a long, even strip, then cut it into appropriately sized pieces.
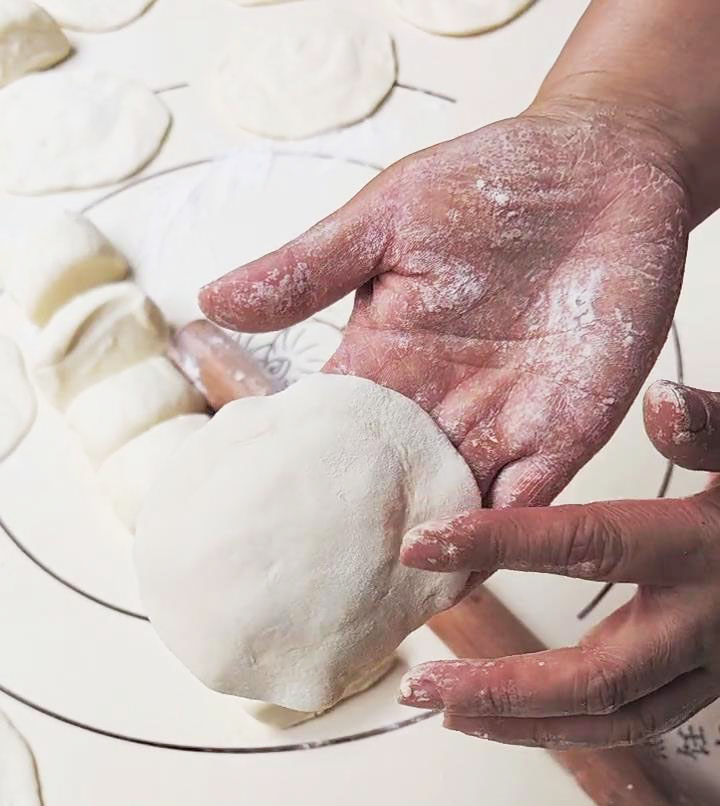
- Take one piece and use a rolling pin to flatten it. Aim for a round shape with a thicker center and thinner edges. The thicker center will help keep the filling from leaking, while thinner edges make it easier to pleat, giving the buns a nice shape after steaming.
3. Adding the Filling
- Use a spoon or other tool to place a suitable amount of filling in the center of the rolled dough. Make sure to add a bit more filling for a fuller bun. If you’re a beginner, it’s best to use less filling.
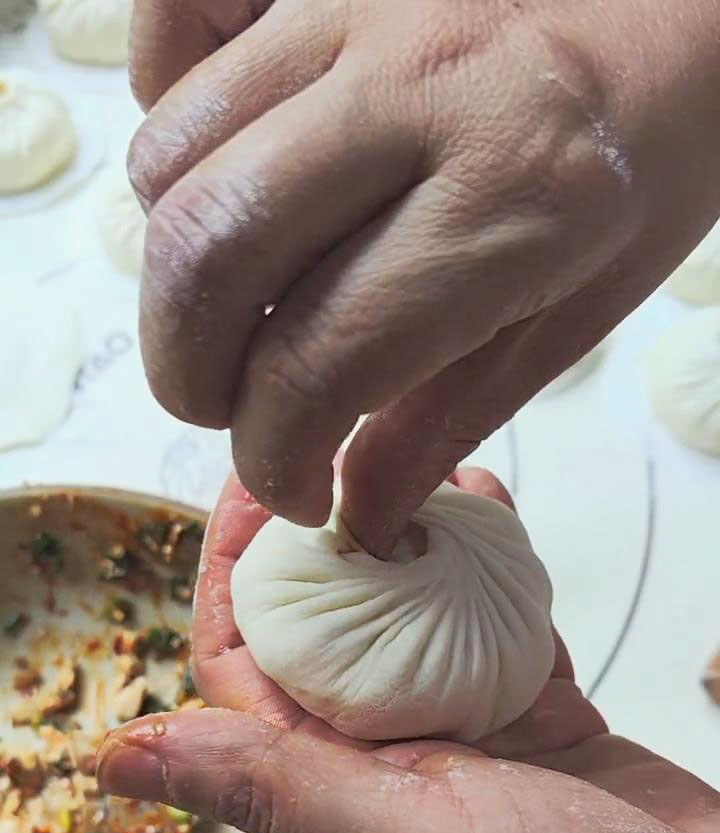
4. Shaping the Buns
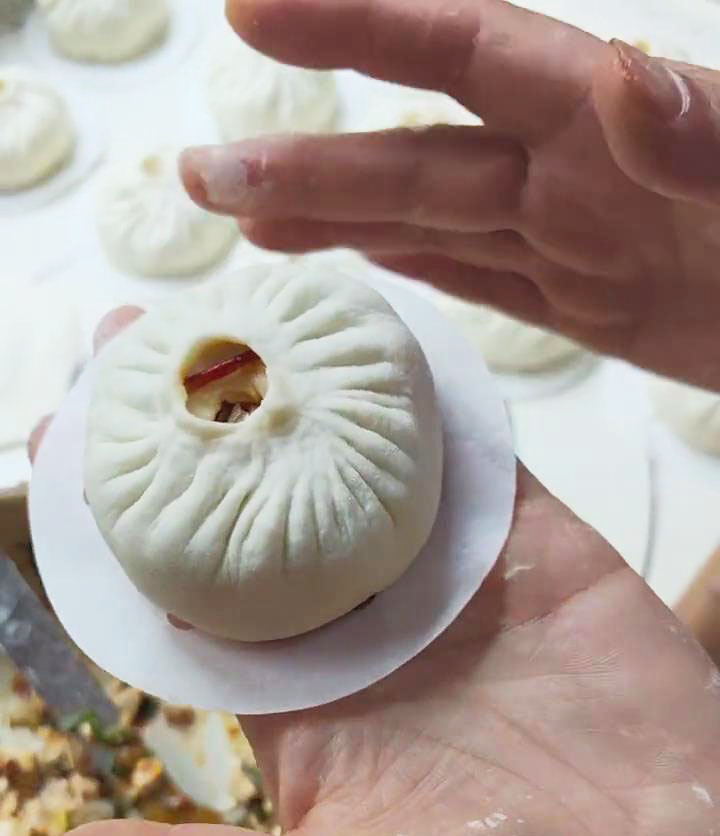
- Support the dough with one hand while using the thumb and index finger of your other hand to pinch pleats starting from the edge of the dough.
- First, gently lift a bit of the dough and push it in one direction to create a pleat.
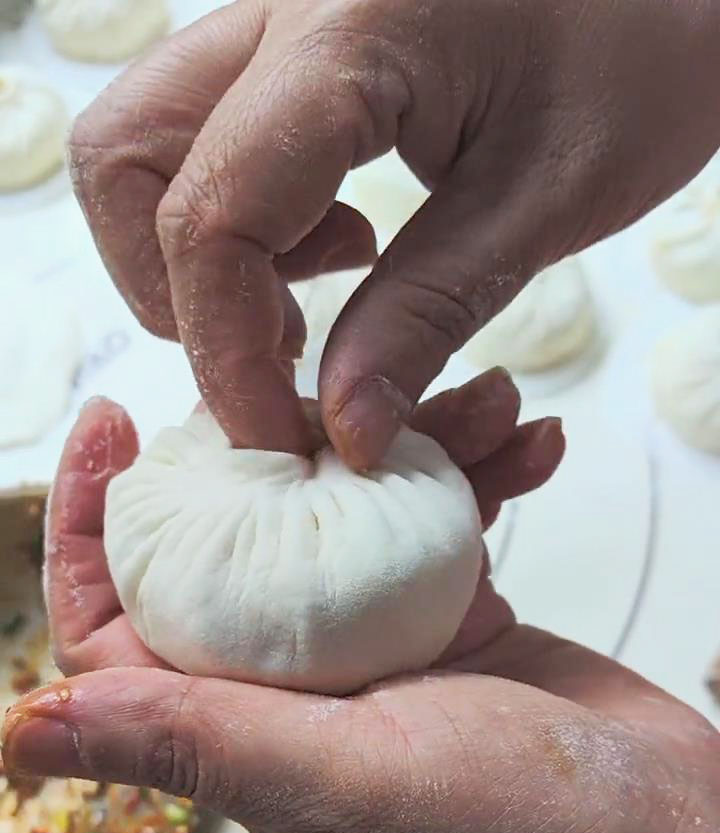
- Continue making pleats in the same manner, ensuring they’re evenly spaced. While your right hand keeps forming the pleats, use your left thumb occasionally to press the filling down.As you pleat, keep rotating the dough to distribute the pleats evenly around the circle.
- When you reach the end, overlap the edges of the dough at the opening.
Use your fingers to tidy up the closure, making it tighter and smoother to ensure the filling doesn’t leak out.
 5. Final Steps
- Place the shaped buns on the parchment paper and arrange them in the steamer, ensuring there’s enough space between each bun to prevent sticking during steaming.
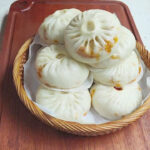
- Steam the buns according to your usual process, and once they’re done, they’ll be plump and round.
Bun Wrapping Techniques: Tips for Beginners
Ingredients
- bun wrapper
- fillings
Instructions
Preparation
- Prepare the fermented dough and filling.
- Get some parchment paper
Rolling the Dough
- Roll the dough into a long, even strip, then cut it into appropriately sized pieces.
- Take one piece and use a rolling pin to flatten it. Aim for a round shape with a thicker center and thinner edges. The thicker center will help keep the filling from leaking, while thinner edges make it easier to pleat, giving the buns a nice shape after steaming.
Adding the Filling
- Use a spoon or other tool to place a suitable amount of filling in the center of the rolled dough. Make sure to add a bit more filling for a fuller bun. If you're a beginner, it's best to use less filling.
Shaping the Buns
- Support the dough with one hand while using the thumb and index finger of your other hand to pinch pleats starting from the edge of the dough.
- First, gently lift a bit of the dough and push it in one direction to create a pleat.
- Continue making pleats in the same manner, ensuring they're evenly spaced. While your right hand keeps forming the pleats, use your left thumb occasionally to press the filling down.As you pleat, keep rotating the dough to distribute the pleats evenly around the circle.
- When you reach the end, overlap the edges of the dough at the opening.
- Use your fingers to tidy up the closure, making it tighter and smoother to ensure the filling doesn't leak out.
Final Steps
- Place the shaped buns on the parchment paper and arrange them in the steamer, ensuring there's enough space between each bun to prevent sticking during steaming.
- Steam the buns according to your usual process, and once they're done, they'll be plump and round.


Leave a Reply